Noggit Basic Controls & Introduction
Guide by NORTE.m2 · Version 1.0
This guide covers the most essential controls and some general recommendations for using the program.
Previous guides:
- Installation: Installing Noggit for Epsilon SL
- Custom Maps: Custom Maps in Epsilon with Noggit SL
Help > Key Bindings contains a full list of every shortcut in the program.

Viewport display modes
At the top of the screen you'll find this panel:

Each button toggles the visibility of the following:
- M2s
- WMOs
- WMO Doodads (base terrain objects)
- WMO Terrain
- Terrain
- Water
- ADT and chunk grid lines
- Terrain hole boundary lines
- Terrain mesh
- Terrain height lines
- Walkable / Non-walkable areas
- Vertex painting
- Shadows
Button 14 onwards has nothing useful.
Disable everything except terrain. Since we already cleared the ADTs with the ph shift in Epsilon, there's no need to remove them in Noggit — just turn off all objects and edit the terrain as-is.
Recommended configuration:

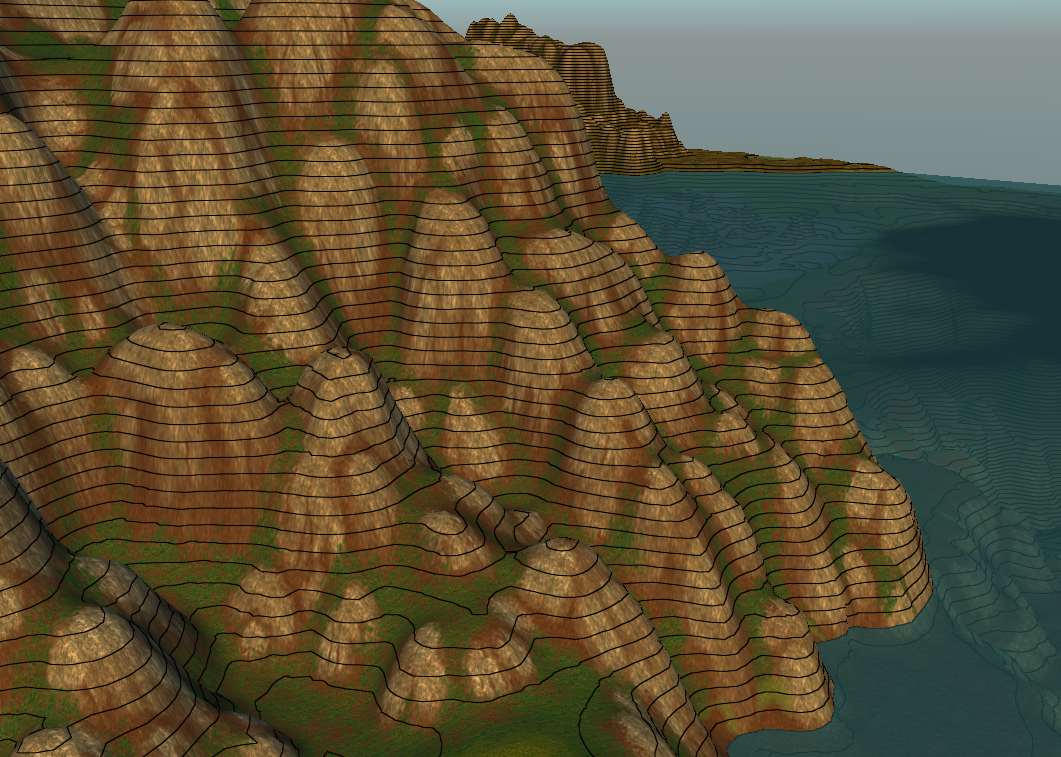
In some cases, enabling height lines is also useful:

Raising and lowering terrain
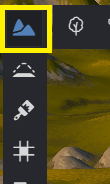
First button in the vertical menu:
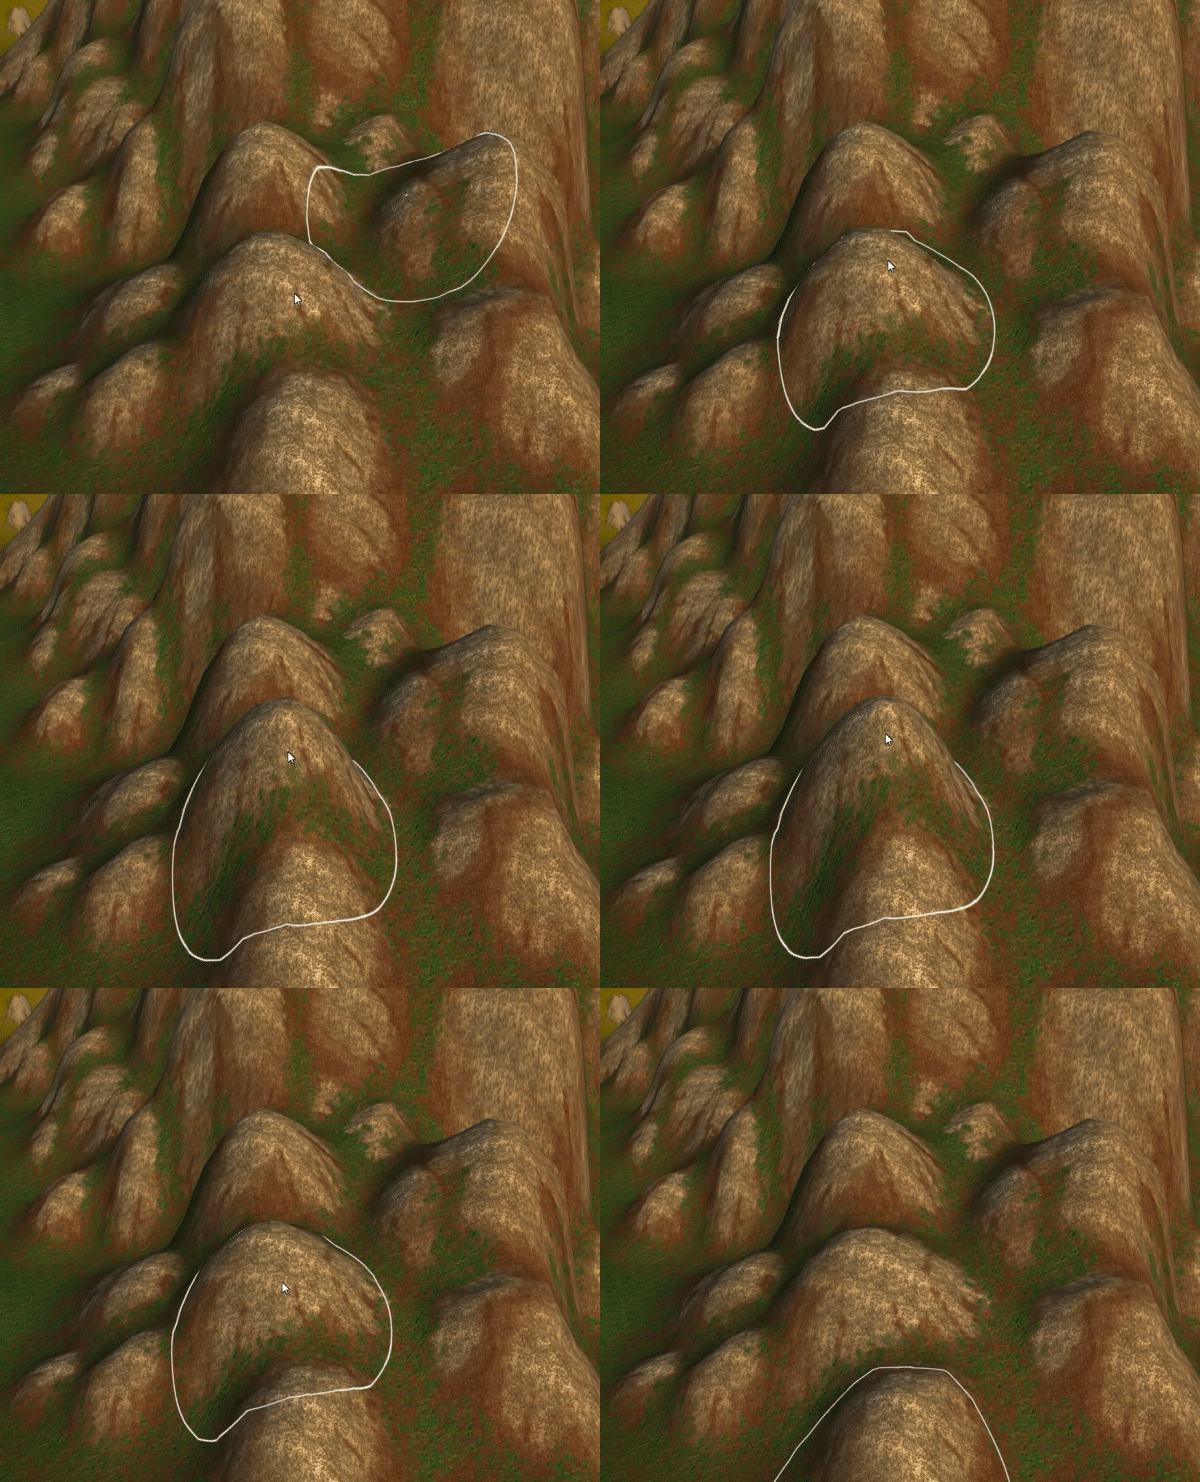
- SHIFT + Left Click → terrain RISES
- CTRL + Left Click → terrain LOWERS
ALT + Right Click changes the brush radius directly in the viewport.
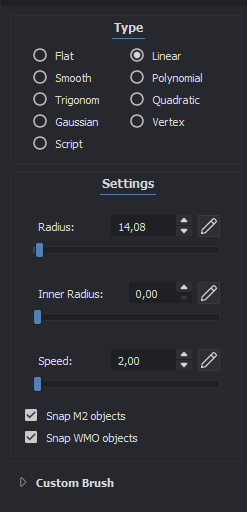
In the right panel:
- Radius — changes the brush size.
- Inner radius — controls the brush feathering/falloff.
- Speed — the raise/lower speed. Use 1–2 for fine detail, 10–15 for hills and mountains, 30 for large-scale terrain.
Smoothing terrain
Second button in the vertical menu:
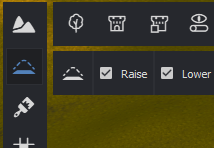

Only two modes are worth using: Linear and Origin.
Linear — General smoothing
Creates a ramp between where you first click and where you drag. If you hold still, it smooths between the center and the edge of the brush. At a large radius it evens out entire areas.
- SHIFT + Left Click → terrain SMOOTHS OUT
- CTRL + Left Click → terrain LOWERS while smoothing
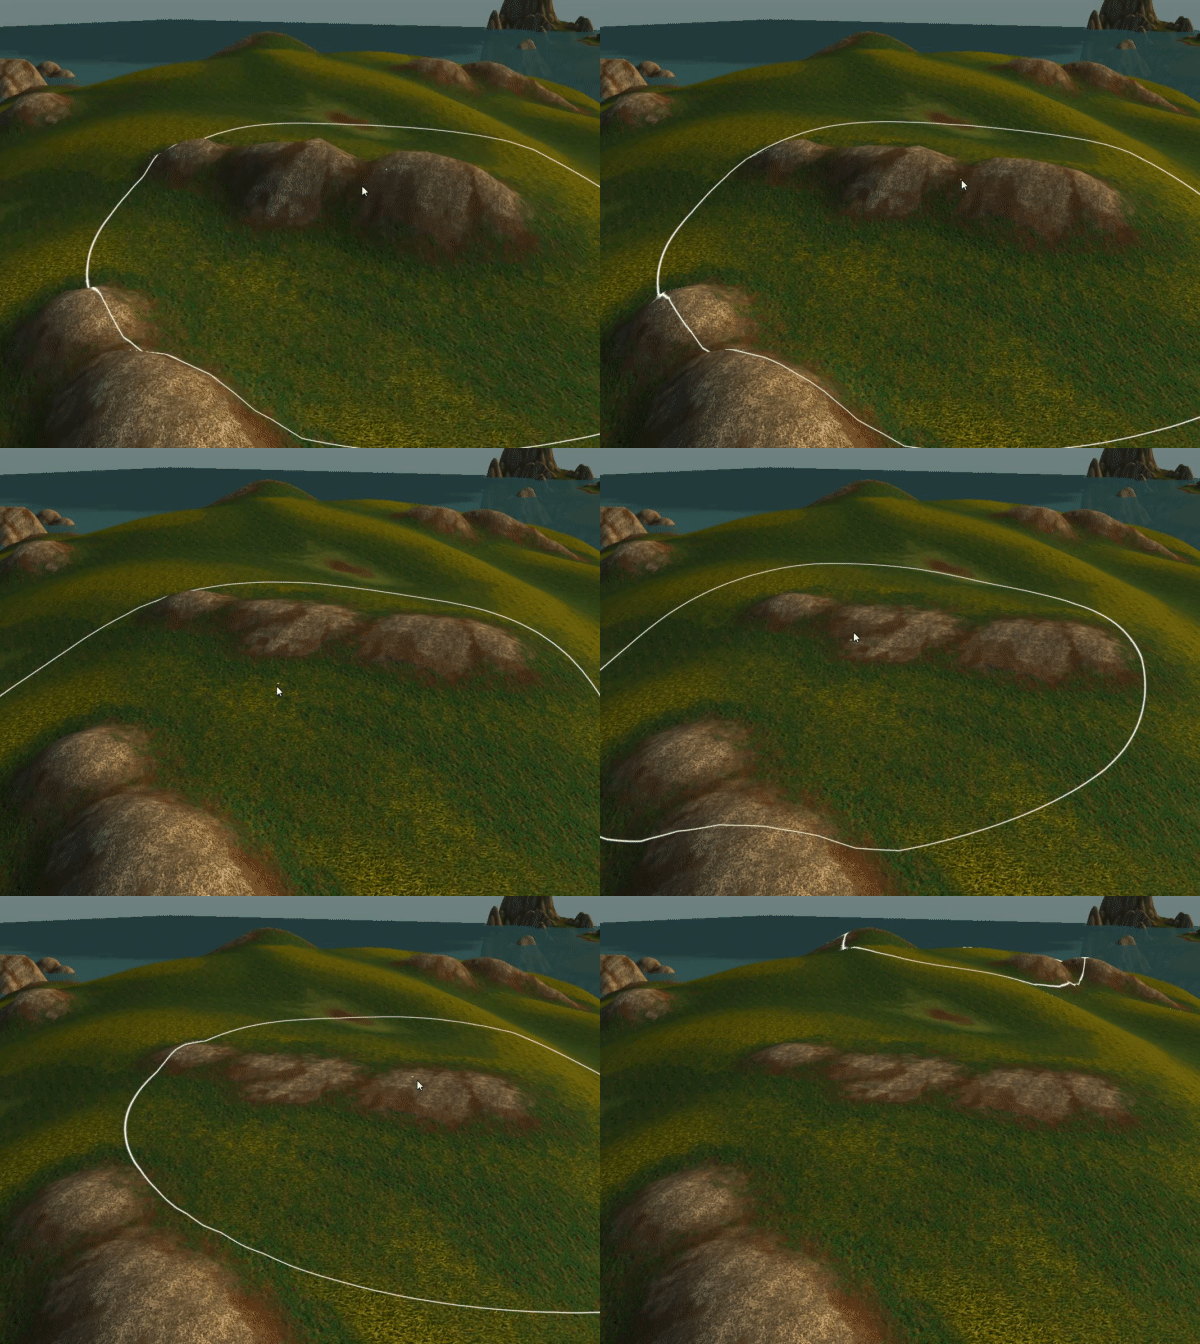

Keep Speed at 10. Use ALT + Right Click to change the brush radius.
Origin — Flatten
Flattens an area by extending the height of the point where you first clicked.
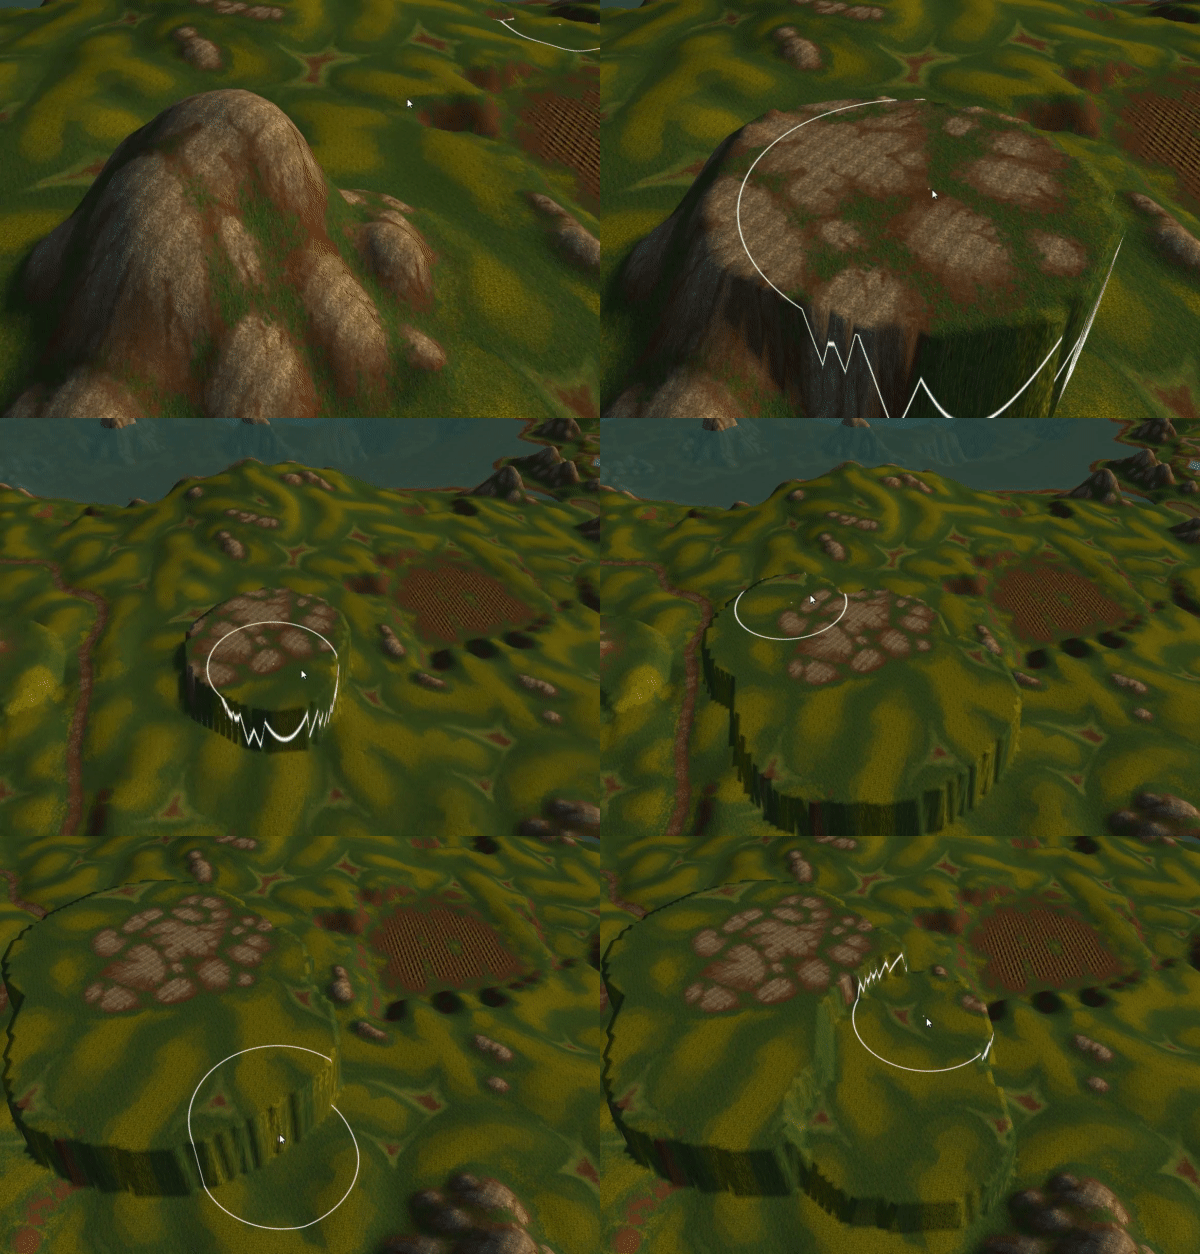
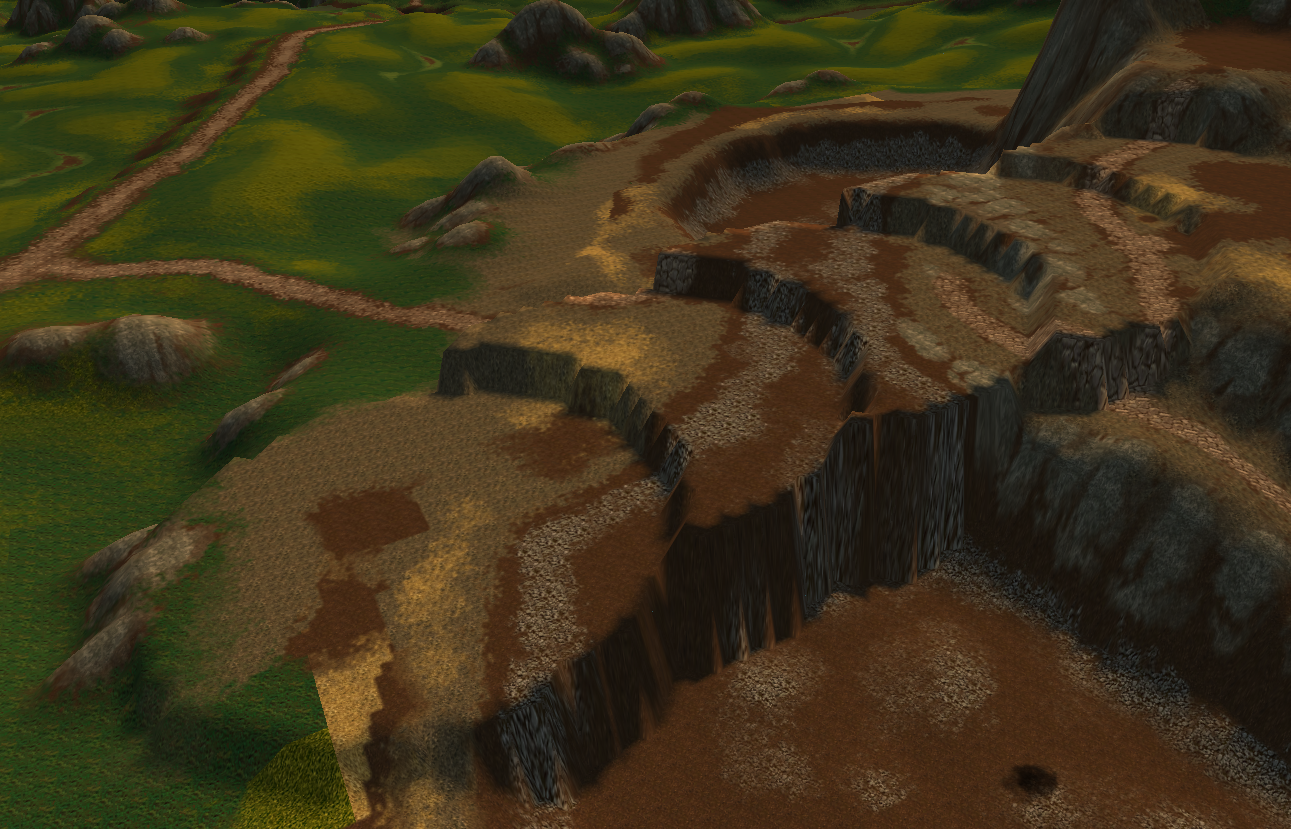
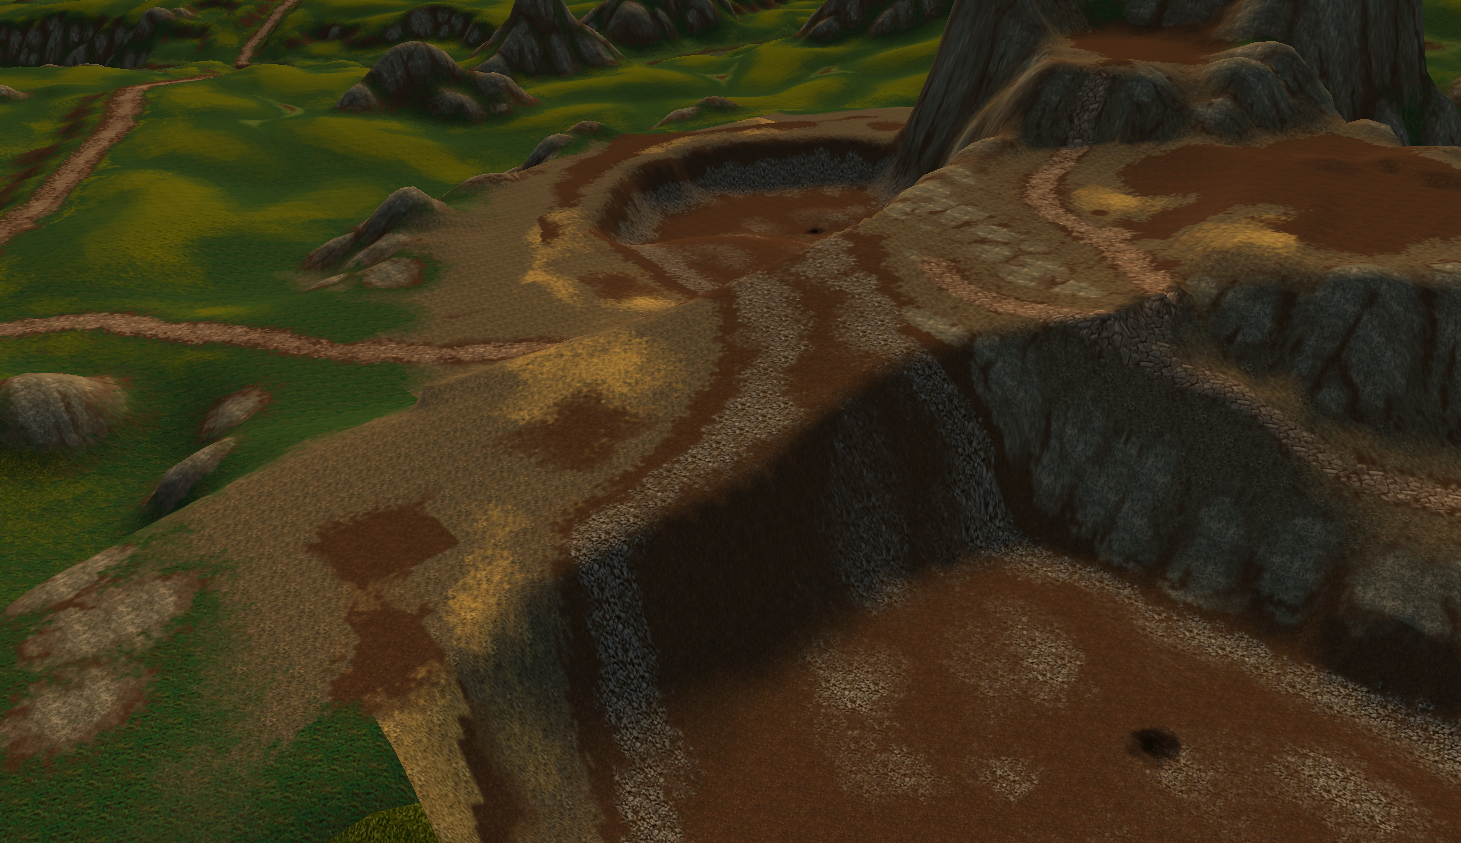
Use it to create flat surfaces, then refine with Linear. It's also great for quickly blocking out ramps, paths, or future mountains:
- Shape with ORIGIN
- Smooth with LINEAR
Painting terrain textures
Third button in the vertical menu:
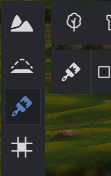
- SHIFT + Left Click → paints the terrain
- CTRL + Left Click → picks a texture from the terrain
A single chunk can only hold 4 textures. Choose carefully.
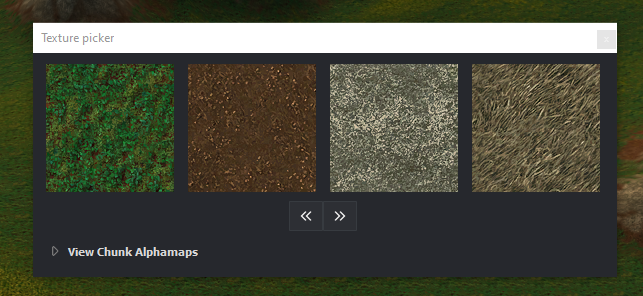
To reset all textures on a chunk: ALT + CTRL + SHIFT + Left Click
In the side panel, you usually only need to adjust Radius and Pressure.

- Pressure 0.5–0.7 for a clearly visible texture.
- Pressure 0.1–0.3 for a very subtle blend.
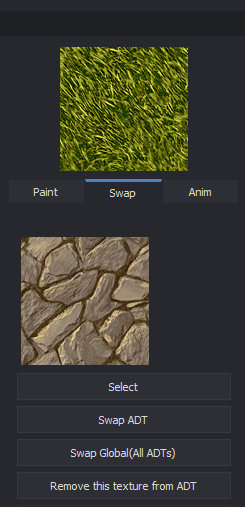
In the SWAP tab you can swap one texture for another across the chunk without having to erase it first:
Water
Seventh button in the vertical menu:

- SHIFT + Left Click → adds water
- CTRL + Left Click → removes water
Never use the water placement tool — it shows up broken. It's much better to place a laketile directly in Epsilon.
Holes
Fourth button in the vertical menu:

- SHIFT + Left Click → fills a hole in the terrain
- CTRL + Left Click → creates a hole
The remaining buttons in the vertical menu have no practical use.